Thinking about switching to solar, but not sure what’s involved? Here’s what you need to know.
Interest in solar energy has surged across the UK, with more households looking to protect themselves from rising bills, reduce grid reliance, and tap into clean, renewable electricity.
With Ofgem raising the energy price cap by 1.2% in Q1 2025 – and forecasts suggesting further hikes – solar panels are one of the few long-term ways to take control of your energy use.
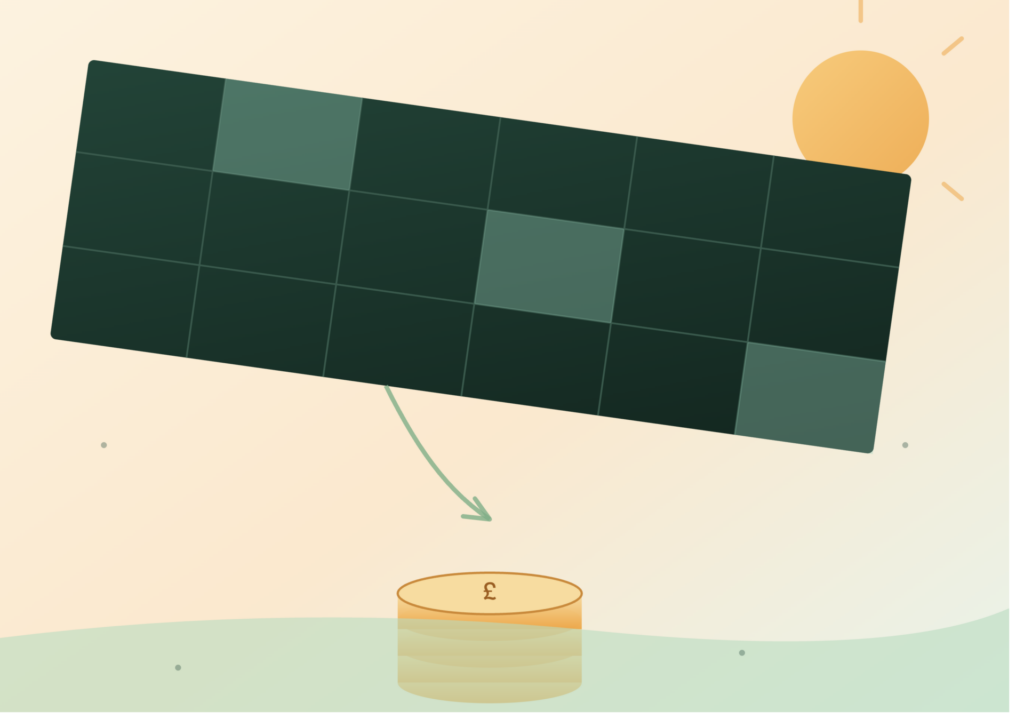
Better yet, you can earn money for exporting excess electricity back to the grid through the Smart Export Guarantee (SEG).
But how exactly are solar panels installed, and what impact will they have on your home?
🔑 Key Takeaways:
- A proper installation begins with a professional survey to assess roof suitability, shading, and system size.
- Most homes don’t need planning permission thanks to Permitted Development rules – but listed buildings and flats may be exceptions.
- The full install process includes structural checks, electrical setup, scaffolding, and mounting.
- MCS accreditation is essential if you want to access SEG payments or certain grants.
- Installation typically takes 1–3 days and can save the average UK household up to £660 per year.
- You may be eligible for 0% VAT, SEG payments, or council-led grants.
⚡ UK Solar Panel Grants & Funding (2026)
There are no nationwide schemes that fully fund solar panels, but there are several ways to reduce your costs:
✅ 1. Smart Export Guarantee (SEG)
You get paid for every unit of electricity you export to the grid.
- Must use an MCS-certified installer
- SEG rates range from 5p to 15p per kWh
- Paid monthly or quarterly
- Offered by major suppliers like Octopus, EDF and British Gas
💰 2. 0% VAT on Solar (Until 2027)
As of April 2022, solar panel installations are VAT-free.
- Applies to panels, inverters, and batteries
- Saves around £1,000 on a typical system
- Runs until March 2027
🏘️ 3. Local Grants & ECO Schemes
Some councils offer financial help through:
- Home Upgrade Grant (HUG)
- ECO4 for low-income households
- Green Deal-style financing or area-specific schemes
💳 4. Finance & “Pay Monthly” Solar
Most installers now offer flexible payment plans, including:
- 0% interest finance (subject to status)
- 5–10 year terms
- Low upfront or £0 deposit options
Step 1: Site Survey and Feasibility Assessment
The first step is a thorough inspection of your property by an MCS-certified installer. This can often be done remotely at first, with final checks conducted on-site.
Key considerations include:
- Roof direction: South-facing roofs receive the most sunlight. East or west still works well; north-facing is usually not viable.
- Roof pitch: A 30–40° angle is ideal in the UK for energy output.
- Structural integrity: A surveyor will check that your roof is in good condition and capable of supporting the system.
- Shading: Obstructions from chimneys, trees, or neighbouring buildings will reduce output. Power optimisers or microinverters can help mitigate this.
- Space: Most UK homes need 10–16 panels (3–5kW system), depending on your energy use and panel efficiency.
- Energy bills: Your recent usage will help the installer recommend the right system size and whether battery storage is worthwhile.
Following the assessment, you’ll receive a detailed proposal outlining:
- System size and expected output (in kWh/year)
- Full installation cost (typically £5,000–£7,000 for a 4kW system)
- Product warranties (most panels offer 20–25 years)
- SEG eligibility and estimated annual savings
- Options for battery storage and EV charger integration
💡 Tip: Always compare at least three MCS-certified quotes. It’s the best way to ensure fair pricing and high-quality installation.
Step 2: Planning Permission (Usually Not Needed)
In most cases, installing solar panels on a residential property in England, Scotland, or Wales falls under Permitted Development, meaning you don’t need to apply for planning permission.
However, you’ll need permission if:
- You live in a listed building or conservation area
- You live in a flat or leasehold property
- Panels extend more than 200mm from the roof surface
- You’re installing ground-mounted panels exceeding 9m² or 4m in height
As of December 2023, Permitted Development also includes flat roof systems, making solar more accessible for urban homes and bungalows.
If in doubt, check with your local planning authority before proceeding – especially if you’re aiming to install in sensitive areas or on outbuildings.
Step 3: Final System Design and Equipment Choice
Once the green light is given, your installer will finalise your system design. This includes:
Panel Type
- Monocrystalline: Most efficient and space-saving, with sleek black appearance.
- Polycrystalline: Slightly less efficient but cheaper.
- Thin-film: Flexible and lightweight, but less suited to UK homes due to lower performance.
Inverter Selection
- String inverters: Standard and cost-effective.
- Microinverters: Installed on each panel, ideal for shaded roofs.
- Hybrid inverters: Allow connection to battery storage.
Battery Storage (Optional)
Adding a solar battery (e.g. Tesla Powerwall, GivEnergy) increases self-consumption and can unlock time-of-use tariffs like Octopus Flux.
Batteries start around £3,000–£5,000 and may qualify for 0% VAT if installed with panels.
Mounting System
Panels can be:
- On-roof: Most common, using brackets fixed to rafters.
- In-roof: Built into the roof surface for a sleeker look (more expensive).
- Flat-roof ballasted: Non-penetrating and weighted down, common for bungalows and garages.
Smart Monitoring
Most systems come with an app or dashboard so you can monitor generation, export, and savings in real time.
Related solar guides:
- How many solar panels do you need?
- Smart Export Guarantee
- Can you install solar panels in a conservation area?
- Best 4kw solar system with battery storage
- Sunshine hours map UK
- Best Solar Panels
- Solar panel output calculator
Step 4: Roof Prep and Electrical Setup
Before panel installation begins, your installer will carry out essential prep work:
- Scaffolding setup: For safe roof access.
- Roof inspection: Reinforcing rafters if needed.
- Mounting installation: Frames fixed with weatherproofing to prevent leaks.
- Electrical work: Routing cabling from the roof to the inverter location (e.g. loft, garage, utility room).
- Fuse box integration: Connecting your system to the consumer unit via an isolator and generation meter.
This phase ensures your system will be structurally secure, compliant with electrical standards, and ready for final panel placement.
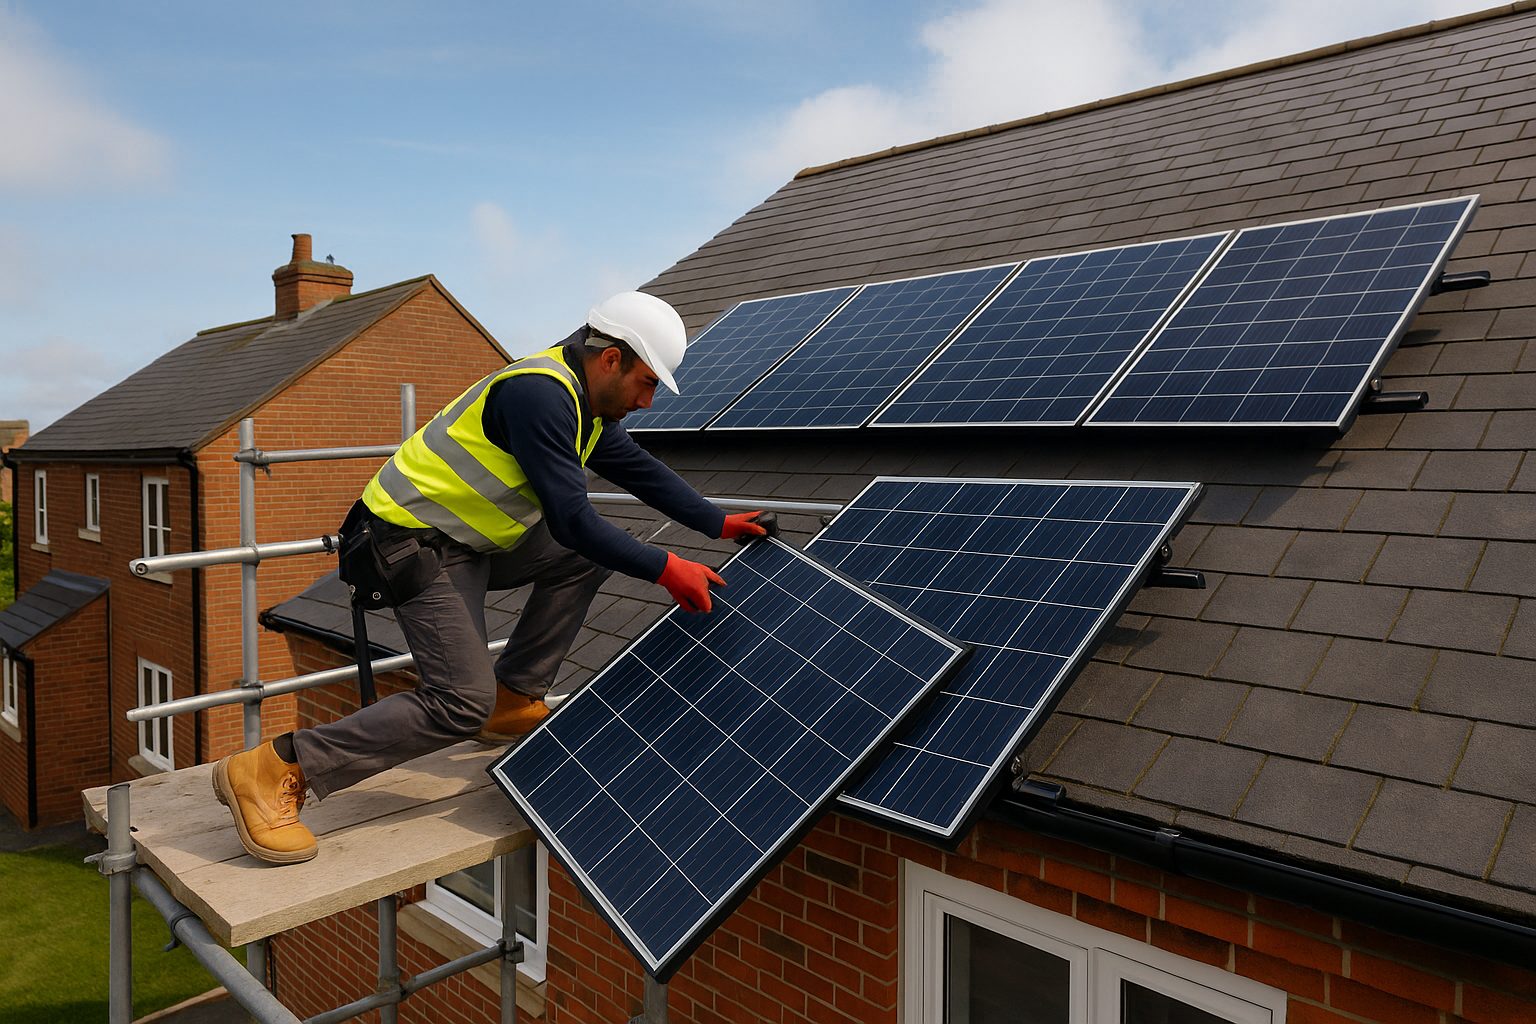
Step 5: Panel Installation
This is the visible part of the process – and it’s faster than most expect.
- Panels are lifted and secured using clamps and rails.
- Wiring is connected in series or parallel (depending on design).
- Spacing is checked for ventilation and optimal output.
- Final safety checks are performed on fixings, wiring, and weatherproofing.
A domestic system typically takes 1–3 days to install, depending on roof complexity and whether a battery is included.
Step 6: Inverter & Battery Connection
Next, your installer will:
- Mount the inverter and connect it to the panel array.
- Install and configure the battery system, if included.
- Connect the inverter to the fuse box via an isolator.
- Set up monitoring software so you can track performance on your phone or PC.
Installers will also label all system components clearly, in line with building and safety regulations.
Step 7: Testing, Certification & Grid Connection
Finally, your installer will:
- Run electrical tests to confirm system safety and performance.
- Submit documentation to your Distribution Network Operator (DNO). Systems over 3.68kW per phase require prior DNO approval.
- Register your installation with the MCS and issue your MCS certificate.
- Help you apply for the Smart Export Guarantee so you can earn for exporting surplus electricity back to the grid.
- Provide a handover pack with all warranties, user guides, and system specs.
Final Thoughts on How Solar Panels Are Installed
If you’re tired of high energy bills and want to future-proof your home, solar panels are a smart long-term investment. When installed correctly, they can:
- Pay back their cost in 6–10 years
- Slash electricity bills by hundreds annually
- Increase property value
- Cut your carbon footprint
- Unlock SEG earnings for exported electricity
Sources and References:
- https://www.ofgem.gov.uk/information-consumers/energy-advice-households/energy-price-cap
- https://energysavingtrust.org.uk/advice/solar-panels/
- https://www.legislation.gov.uk/uksi/2023/1279/pdfs/uksiem_20231279_en_001.pdf
- https://www.gov.uk/government/publications/register-energy-devices-in-homes-or-small-businesses-guidance-for-device-owners-and-installation-contractors/register-energy-devices-in-homes-or-small-businesses-guidance-for-device-owners-and-installation-contractors
🏡 Learn more about installation, maintenance & practicalities:
- How many solar panels to power a house UK
- How are solar panels installed
- Installing solar panels on flat roofs
- Solar panels on flat roofs
- Can you install solar panels in a conservation area
- Can you install solar panels on conservatory roofs
- DNO application explained
- MCS certificate for solar panels
- Questions to ask a solar panel company
- Solar panel installers
- Solar panel insurance
- Cleaning solar panels
- Bird proofing solar panels